 Free Returns on all orders.
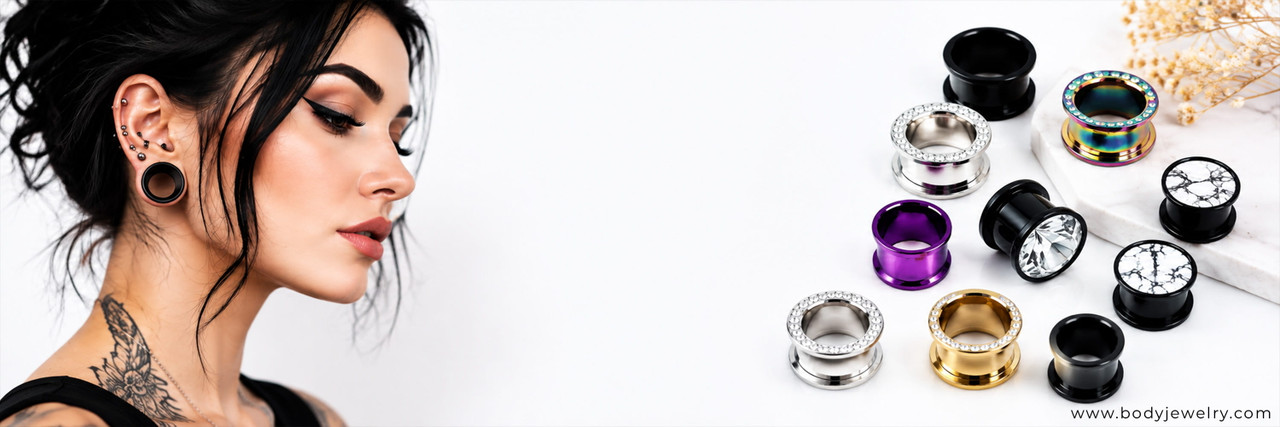
Ear Gauge Size Chart Guide: mm Conversion and Safe Stretching
Understanding ear gauge sizes before you stretch your lobes will save you pain, time, and money. When you know exactly what each size means in both gauge and millimeters, you can choose the right ear gauge plugs, move up at a healthy pace, and avoid permanent damage to your ears.
In this guide, we will walk through how gauge sizing works, a clear gauge size chart in millimeters, a safe size-by-size stretching path, how long to wait between sizes, and how to choose the right plugs, tunnels, and tapers. Our team at BodyJewelry.com in Florida works with these sizes every day, and we want your stretched ears to look great and feel healthy for the long term.
From Studs to Stretching: How Gauge Sizes Work
Gauge is the measurement system used for body jewelry thickness. The higher the gauge number, the thinner the jewelry. That means 18 gauge is thinner than 16 gauge, 16 gauge is thinner than 14 gauge, and so on. As the jewelry gets thicker, the gauge number gets smaller, which is the opposite of what most people expect at first.
At the same time, many product listings use millimeters to describe size. Gauge and millimeters are just two ways of expressing the same thing. Knowing both makes it easier to read product descriptions, compare pieces, and make sure your new ear gauge plugs match the size of your current holes.
Stretching should be a slow, controlled process. Moving gradually from one gauge size to the next, and checking each step against a gauge size chart, helps protect the tissue in your lobes. With the right information, you can plan each increase, pick appropriate jewelry, and avoid tearing or blowouts.
Ear Gauge Sizes Explained: Gauge to MM Conversion
Most people with standard lobe piercings start around 20g or 18g. From there, many professional piercers use 18g or 16g for basic ear piercings, and some use 14g for slightly thicker starter jewelry. Once you decide to stretch, you move from those smaller sizes into thicker territory.
Here is a simplified way to think about common ear gauge sizes and their approximate millimeter equivalents:
- 20g to 18g, very small, around 0.8 mm to 1 mm
- 16g to 14g, typical starter and first stretch, around 1.2 mm to 1.6 mm
- 12g to 10g, early stretching, around 2 mm to 2.5 mm
- 8g to 6g, more noticeable thickness, around 3 mm to 4 mm
- 4g to 2g, larger plugs and tunnels, around 5 mm to 6 mm
- 0g and 00g, statement sizes, around 8 mm to 10 mm
Many people think of 0g and 00g as milestone sizes, both because of how they look and because they are often near the point where your ears may not shrink back fully. While every body is different, the bigger you go, the less likely your ears are to return to their original size if you remove your ear gauge plugs.
Knowing the exact millimeter size of your next step is essential so you do not accidentally jump too far. If you want a more detailed visual, you can reference the Piercing Size Chart page and the gauge size chart available on our site whenever you plan to size up.
Safe Stretching Progression: Size-by-Size Roadmap
A steady stretching path is much safer than guessing. Many people follow a route similar to this, starting from a healed standard lobe piercing:
- 18g or 16g to 14g
- 14g to 12g
- 12g to 10g
- 10g to 8g
- 8g to 6g
- 6g to 4g
- 4g to 2g
- 2g to 0g
- 0g to 00g
Each of these steps usually adds a small, manageable increase in millimeter size. Skipping sizes, for example moving from 12g straight to 8g, forces too much tissue to stretch at once. That can lead to blowouts, where the inside of the piercing pushes outward, as well as thin spots, tears, and long-term scarring.
For the actual stretch, many people use a smooth, stainless steel taper to gently guide the ear from one size to the next, then follow it with a matching plug or tunnel. Once the new size is in place and comfortable, you can wear ear gauge plugs or tunnels from the Ear Plugs, Tunnels Tapers category that match your style while the tissue continues to adapt.
How Long to Wait Between Sizes for Healthy Lobes
Time is your friend when it comes to stretching. A general guideline is to wait at least 4 to 6 weeks between the smaller gauge sizes, sometimes longer as you move into thicker jewelry. As your lobes get larger, the jumps in millimeters can feel more intense, so extending that waiting period often pays off.
Your body, lifestyle, and goals affect your pace. If your skin tends to be sensitive, if you have a history of slow healing, or if you work in environments that put pressure on your ears, it might be better to stretch even more slowly. On the other hand, if everything is calm and comfortable for a long time, you can plan your next step while still being careful.
Watch closely for signs that you are not ready to size up yet:
- Ongoing redness or warmth
- Tenderness when you touch or move the jewelry
- Cracking or splitting skin around the hole
- Clear or yellow fluid that is not just normal sebum
If you notice these, stay at your current size, focus on gentle cleaning, and give your ears more rest. If symptoms are more severe, it can be smart to downsize slightly to relieve pressure, then allow the tissue to recover completely before you try stretching again.
Choosing the Right Ear Gauge Plugs, Tunnels, and Tapers
The material and style of your jewelry matter as much as the size. For the actual stretch, smooth, nonporous options like stainless steel or titanium tapers and plugs are often recommended because they slide more easily, are easier to clean, and are less likely to harbor bacteria. Acrylic and silicone are usually better suited for already healed, stable stretches rather than active stretching.
You will also see terms like single flare, double flare, and screw fit when shopping for ear gauge plugs:
- Single flare plugs have one flared side and a flat side with an O-ring, which makes them easier to insert in freshly stretched piercings.
- Double flare plugs have flares on both sides and usually require fully healed, very flexible lobes to put in and take out safely.
- Screw fit plugs look like double flare from the front, but one end screws off, so you can insert them more gently.
On BodyJewelry.com, product descriptions and size filters list both gauge sizes and their millimeter equivalents. Matching the gauge from your current jewelry or your gauge size chart to the number in millimeters on the product page helps ensure you get exactly what your ears are ready for, whether you are buying tapers, ear plugs, or tunnels.
Confident Stretching Starts with the Right Size Chart
Keeping a reliable gauge size chart handy is one of the easiest ways to stay on track. Many people screenshot or print the chart, then refer to it before every stretch or new jewelry purchase so there are no surprises when the new ear gauge plugs arrive.
When you are ready for visuals and more options, you can look at the Ear Gauges category and Piercing Size Chart page, then explore the Ear Plugs, Tunnels Tapers section to match your current size and style. With a slow, size-by-size progression, consistent aftercare, and correctly sized jewelry, your stretched ears have a much better chance of staying healthy, comfortable, and looking exactly how you want them to.
Upgrade Your Look With Comfortable, Standout Gauges
Discover how our carefully crafted ear gauge plugs can bring out your personal style while keeping comfort front and center. At Body Jewelry, we focus on quality materials and thoughtful designs so you can stretch with confidence. If you have questions about sizing, care, or choosing the right pair, simply contact us and we will help you every step of the way.